
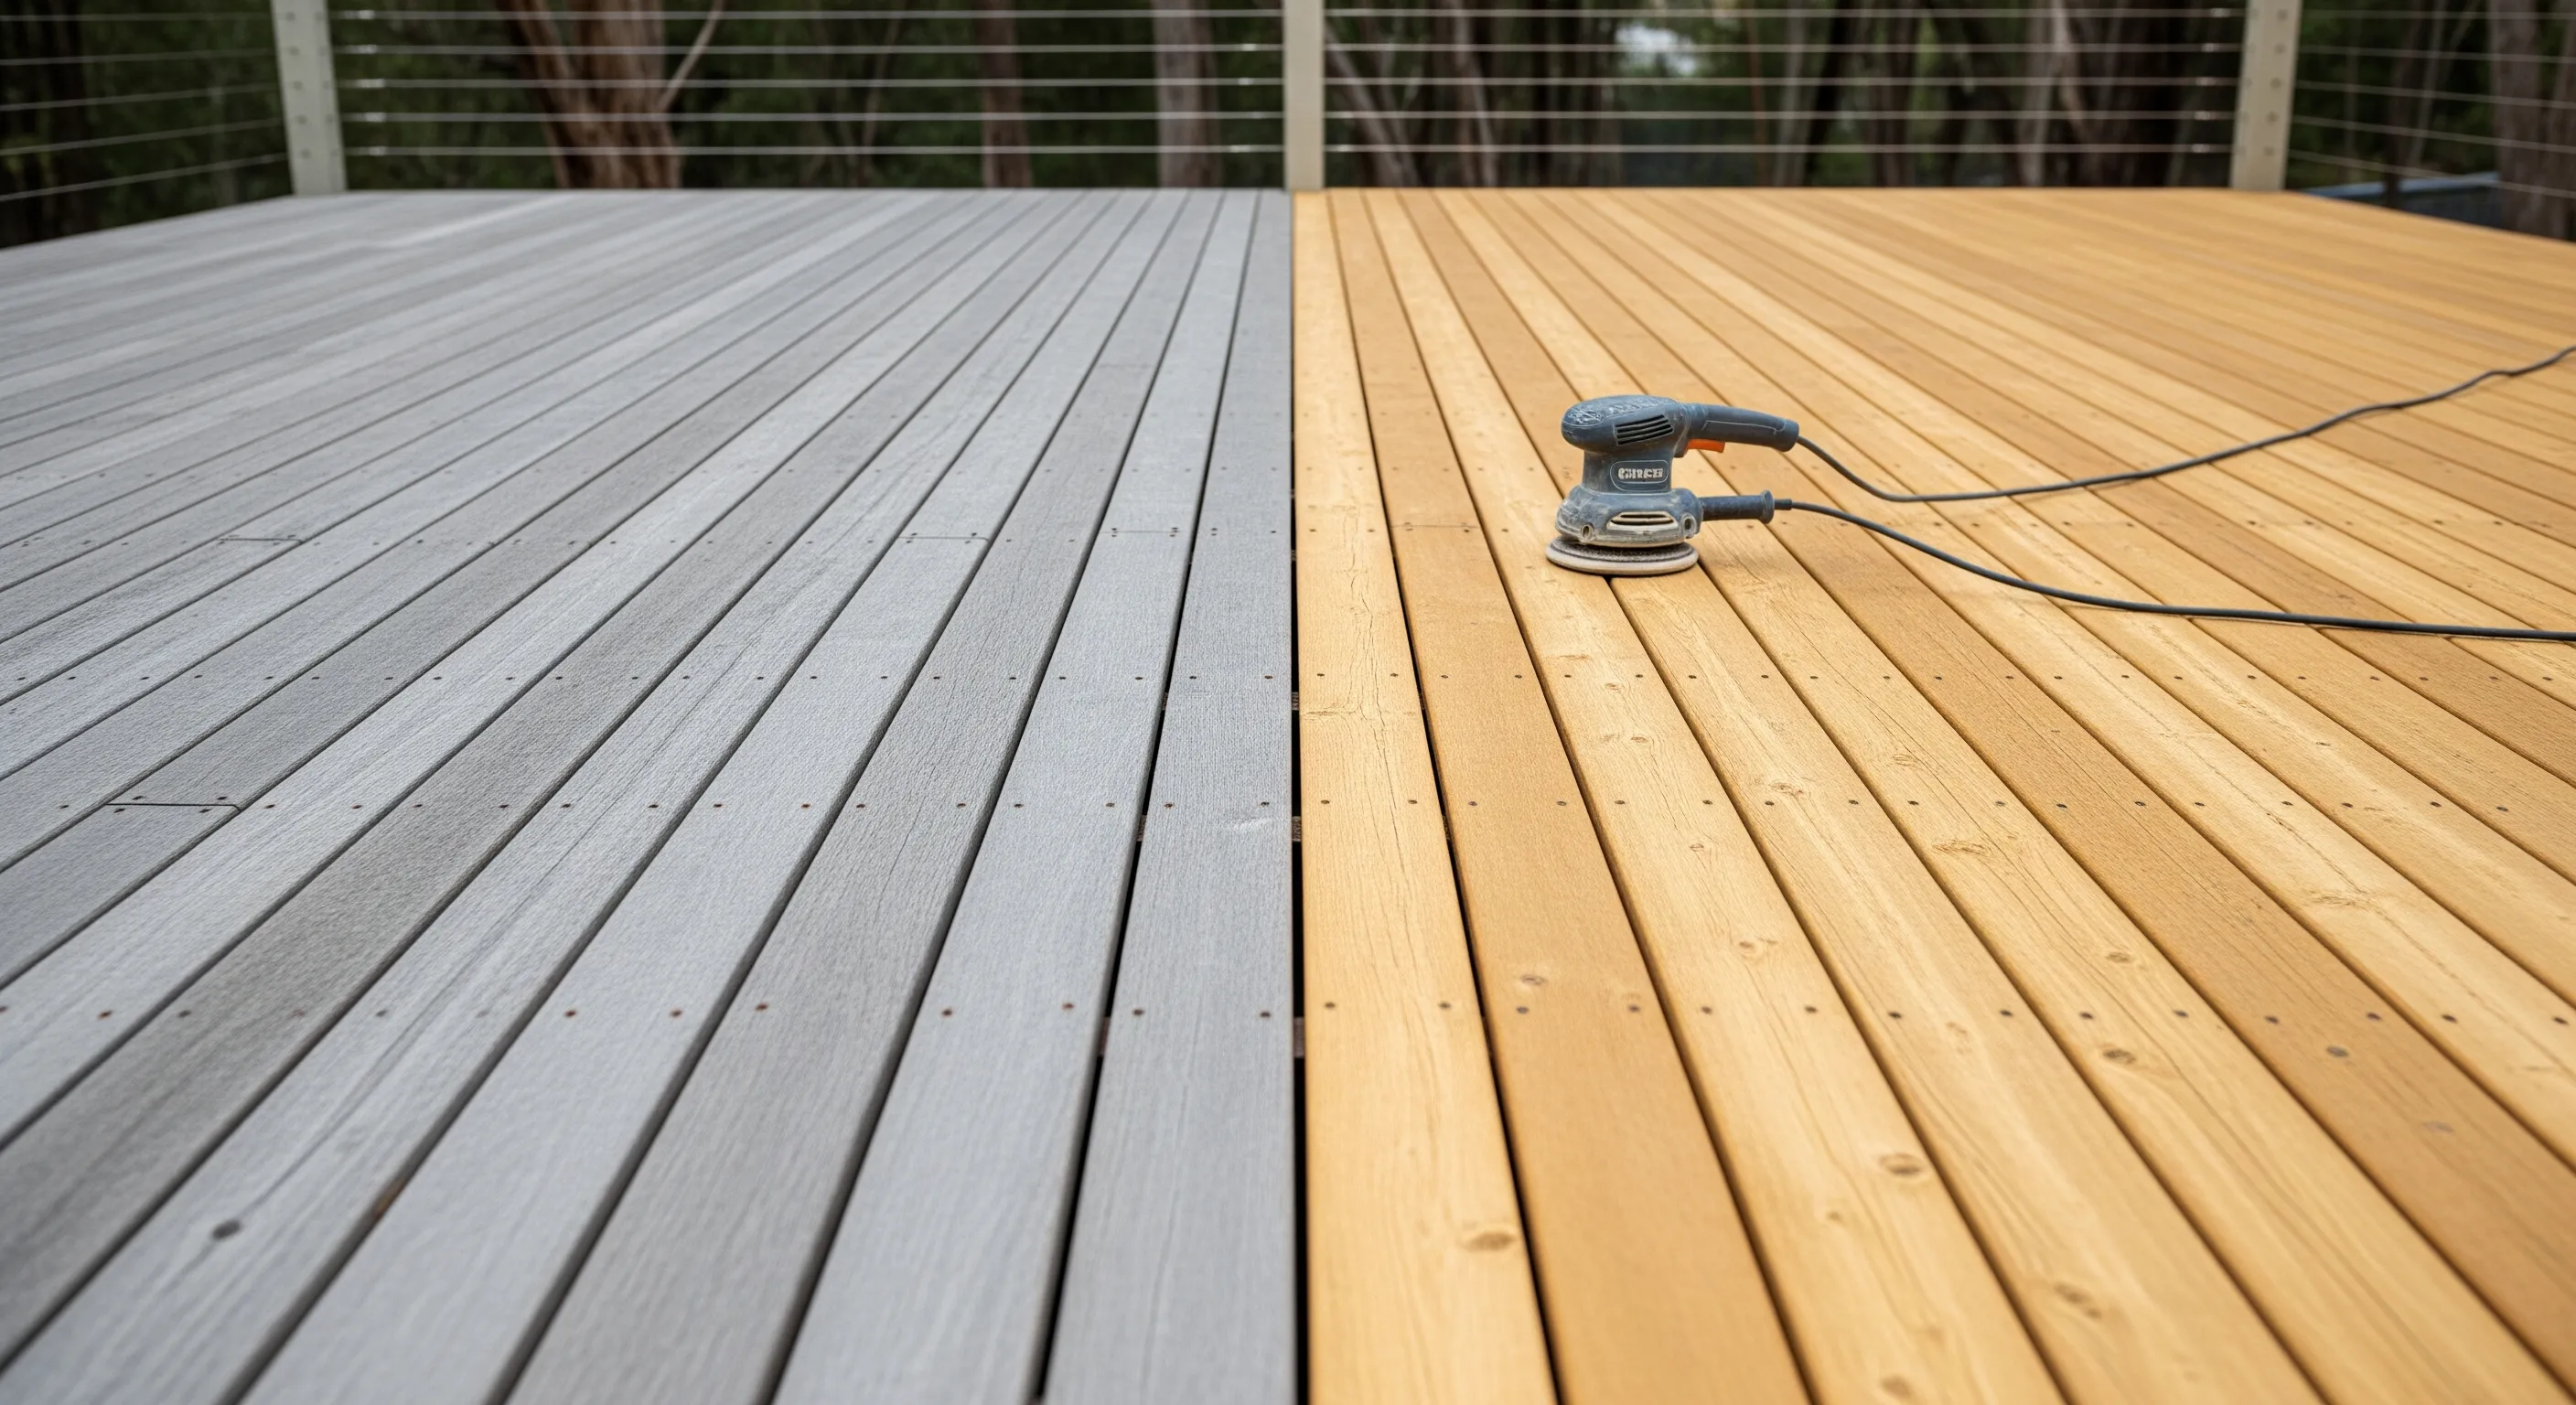
A deck that’s gone grey and splintery looks finished, but it usually isn’t. Timber silvers on the surface long before the structure gives up. Nine times out of ten, the bones are fine and the deck just needs taking back and re-finished.
Here’s how to approach a restoration, step by step, along with the tools you will need, the mistakes worth avoiding, and how to keep the deck in good shape afterwards.
Tools you will need
- Stiff broom and garden hose
- Deck cleaner (pH-neutral formula suited to timber)
- Pump sprayer and scrub brush
- Flat pry bar, hammer and nail punch
- Drill/driver and stainless fixings
- Belt sander or orbital sander (drum sander for larger decks); sandpaper in 40, 60, 80 and 120 grit
- Shop vacuum and clean rags
- Roller, pad applicator or brush for the finish
- Knee pads, eye protection, dust mask rated for sanding
Step 1: Assess the deck honestly
Before you buy a single litre of oil, get down and look. Walk every board and listen for hollow spots; press firmly on anything that flexes. A screwdriver is a useful probe: push the tip into any timber that looks discoloured or soft. Fresh, sound hardwood resists; rot gives way with almost no effort.
Then get underneath or peer through the gaps and check:
- Joists: look for cupping, cracking along the grain, or soft patches where water has pooled.
- Bearers: check where they sit on piers and where they span open air. Ends and joints are where rot starts.
- Posts: press around the base, especially at ground level or where they pass through a concrete slab. Damp pockets rot timber from the inside out.
- Fixings: corroded or lifting screws and nails will work loose under a belt sander and can blow out boards.
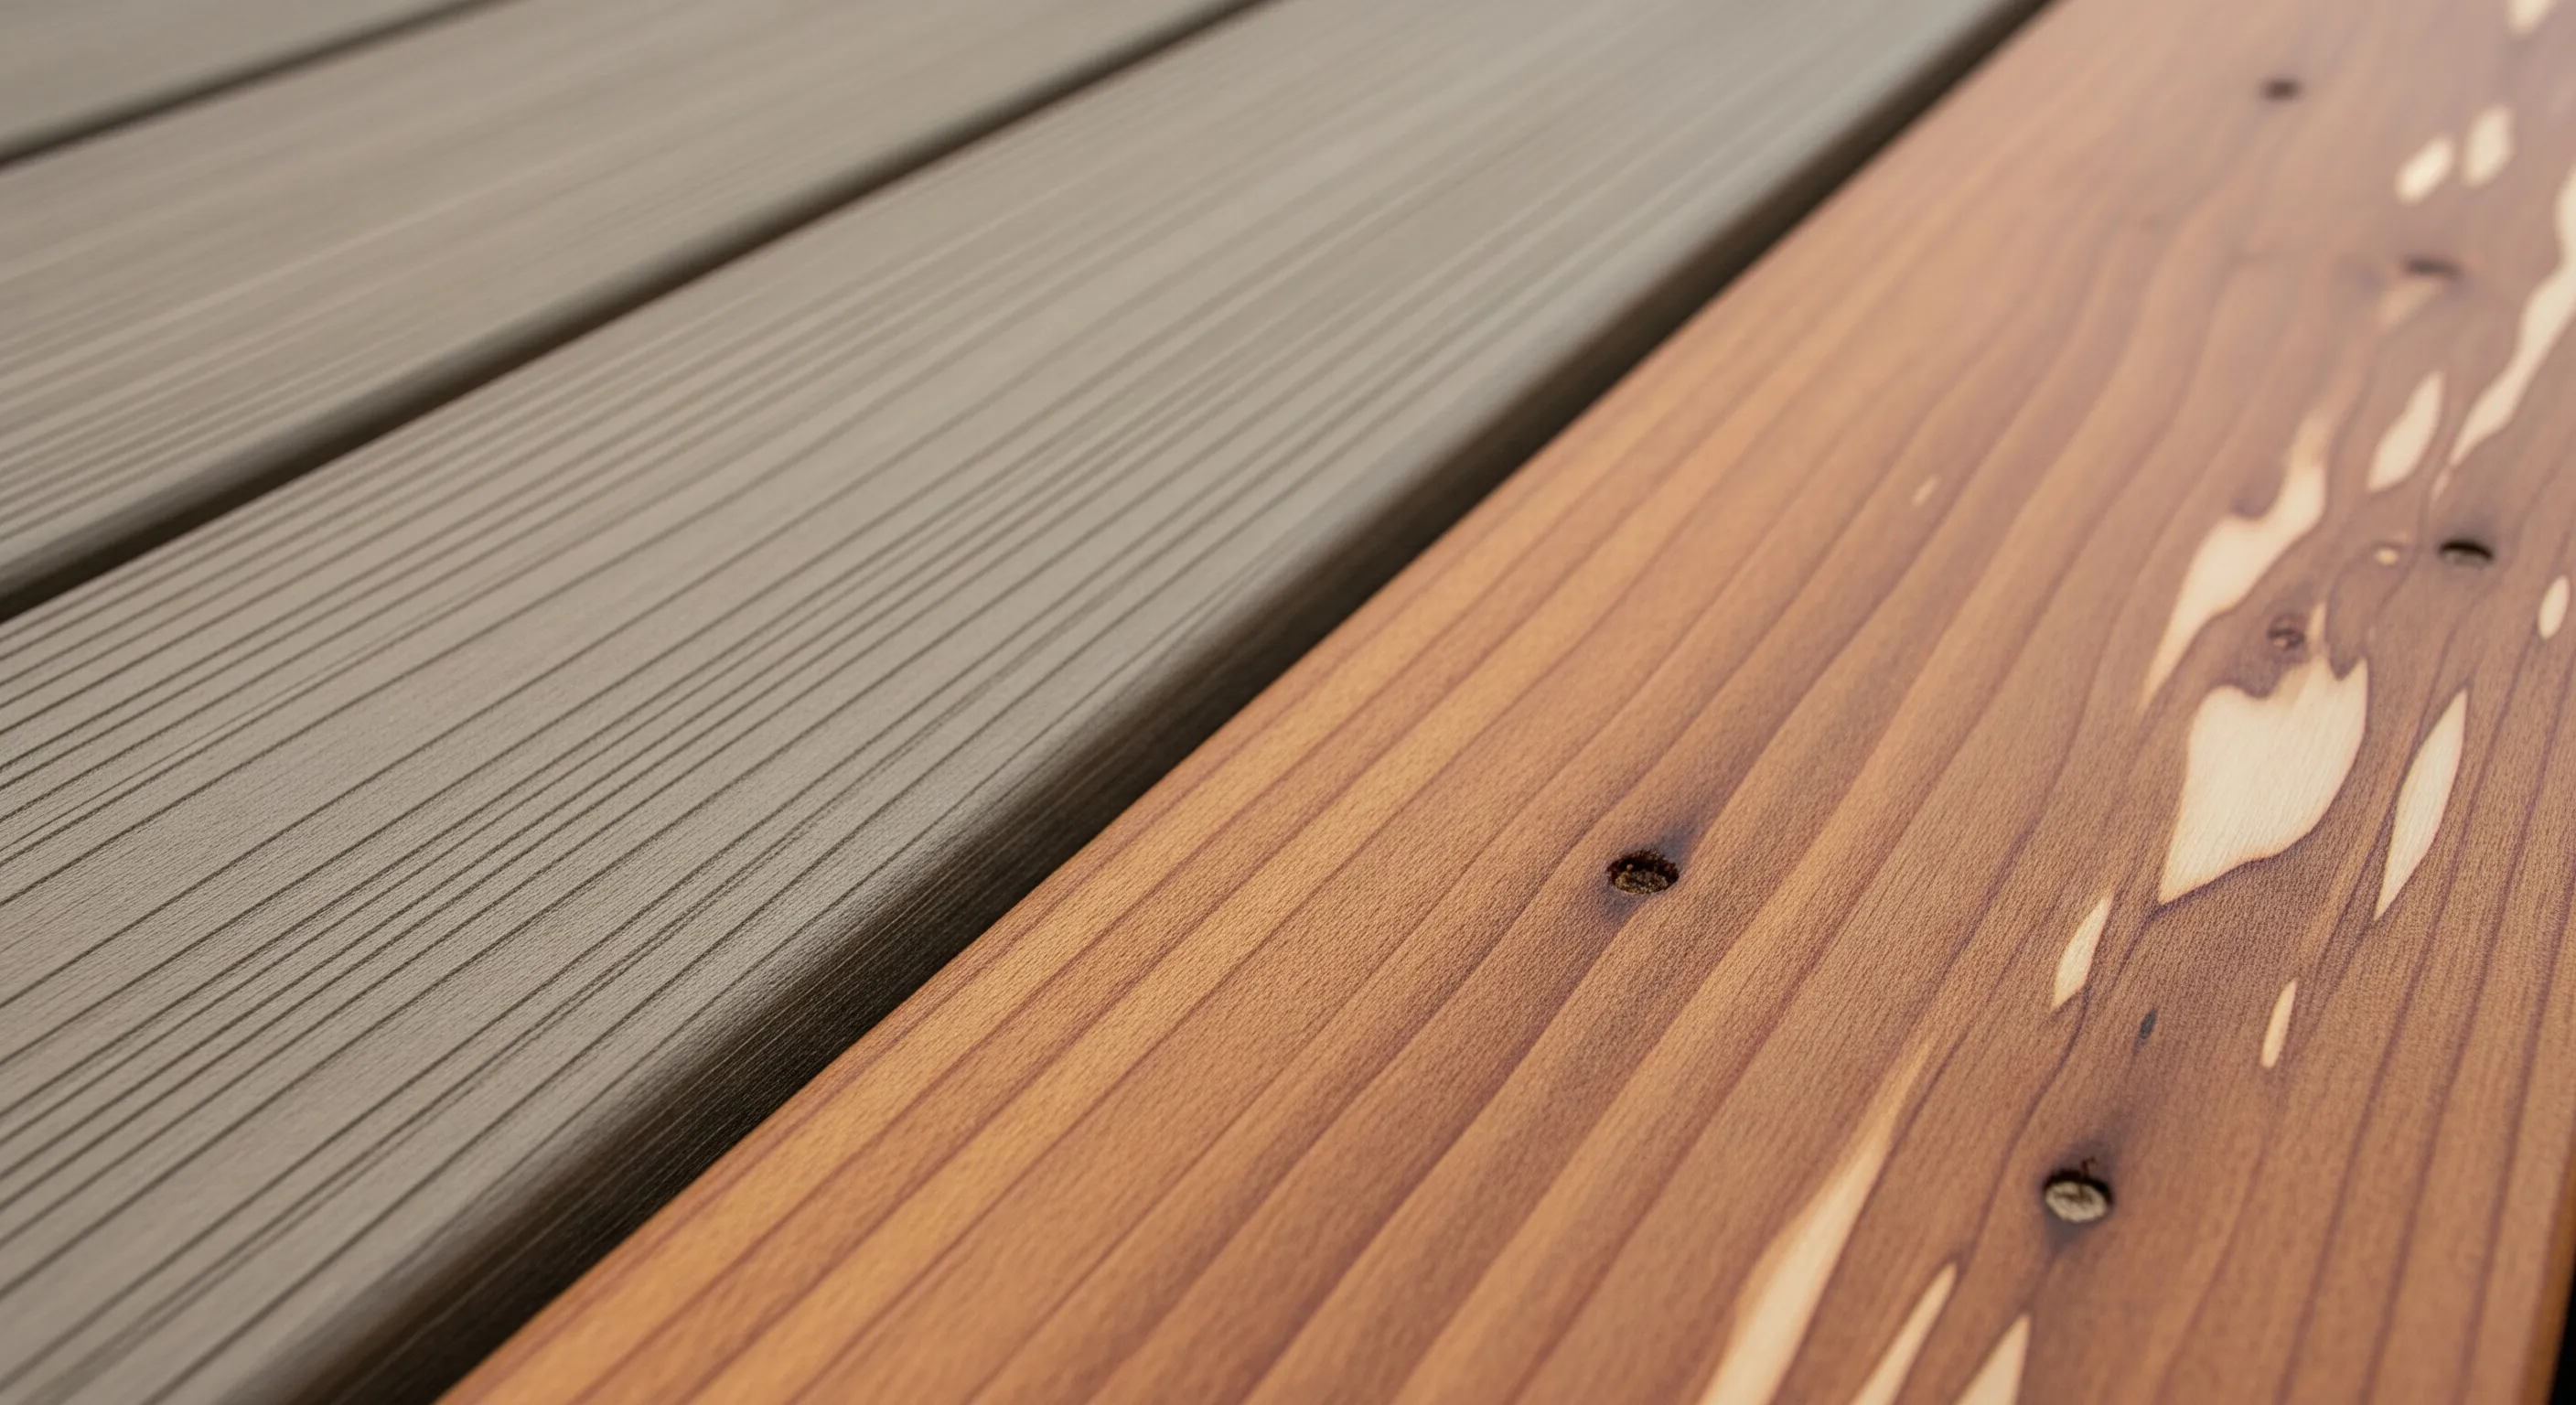
Surface weathering (greying, light cracking, raised grain) is cosmetic. Widespread structural rot or significant movement means you are looking at partial or full replacement, not a weekend restoration. Be honest with yourself at this stage; it saves a lot of wasted effort.
If you are not sure whether the structure is sound, get a professional eye on it before you commit to sanding and oiling. Get a free quote.
Step 2: Clean it back
A thorough clean does two things: it removes the contamination that would clog your sandpaper, and it shows you the true condition of the timber once the grey surface layer is stripped away.
How to clean a weathered deck
- Sweep off all debris, paying attention to the board gaps where leaves and moisture collect.
- Mix the deck cleaner to the label dilution; do not go stronger.
- Wet the surface, apply the cleaner, and scrub along the grain with a stiff brush.
- Let it dwell for the time on the label, then rinse thoroughly. Residue left in the grain interferes with the finish.
- Let the deck dry completely: at least 24 hours in decent weather, longer in humid or overcast conditions. Sanding damp timber loads the paper instantly and leaves a furred surface.
Mould and lichen need a cleaner with an appropriate active ingredient; plain detergent will not kill the spores. If mould returns after cleaning, re-treat before you sand.
Step 3: Repair and re-fix
With the deck clean and dry, repairs are easy to see and easy to do. Sort everything before you sand; you do not want to come back with a hammer after the surface is flat.
Replacing boards
Replace a board when it has deep checks across the grain (not just along it), soft or punky timber that compresses underfoot, cupping severe enough to shed water sideways, or splinters that pose a hazard. Drill out screws or punch nails flush, then pry the board. Match the species and thickness of existing boards; a different species absorbs finish differently.
Fixing loose and proud fixings
- Screws backed out: drive them flush, or replace with a longer screw if the hole has stripped.
- Lifted nails: punch below the surface; fill with exterior timber filler if you want a clear finish.
- Corroded fixings: replace them. A rusting screw stains the surrounding grain orange.
Re-secure anything that rocks before you sand; a belt sander makes movement worse.
Step 4: Sand back to fresh timber
Sanding is the step people rush and the step that matters most. The goal is clean, even timber across the entire surface, with no swirl marks, no chatter marks, and no patches of grey left sitting in the low spots.
The sanding sequence
Start coarse. Begin with 40 or 60 grit to lift the grey surface layer and raised grain. Work strictly along the grain; cross-grain scratches show under a clear finish. Overlap each pass by about a third.
Work up through the grits. Move to 80 grit, then finish at 120. Do not skip grits; jumping from 60 to 120 leaves deep scratches the finer paper cannot remove quickly.
Tool choice. A random-orbital sander suits small areas and detail around posts. For a full deck, hire a belt or drum sander: it covers in an afternoon what an orbital needs a weekend to achieve. Use a sanding block for the edges, around posts and steps that the machine cannot reach. Do not leave grey patches in corners; they stand out once the finish goes on.
After sanding
Vacuum the entire surface with a shop vacuum, then wipe it down with a dry cloth to pick up the fine dust left in the grain. Dust left behind will be trapped under the finish and show as a rough, grainy surface. Check the deck in raking light (morning or late afternoon sun at a low angle) to catch any missed patches before you open the tin.
Step 5: Oil or stain
Choosing the right finish is as important as applying it well. The two main options are deck oil and deck stain. Both protect the timber; they differ in appearance and maintenance cycle.
Oil vs stain: which to choose
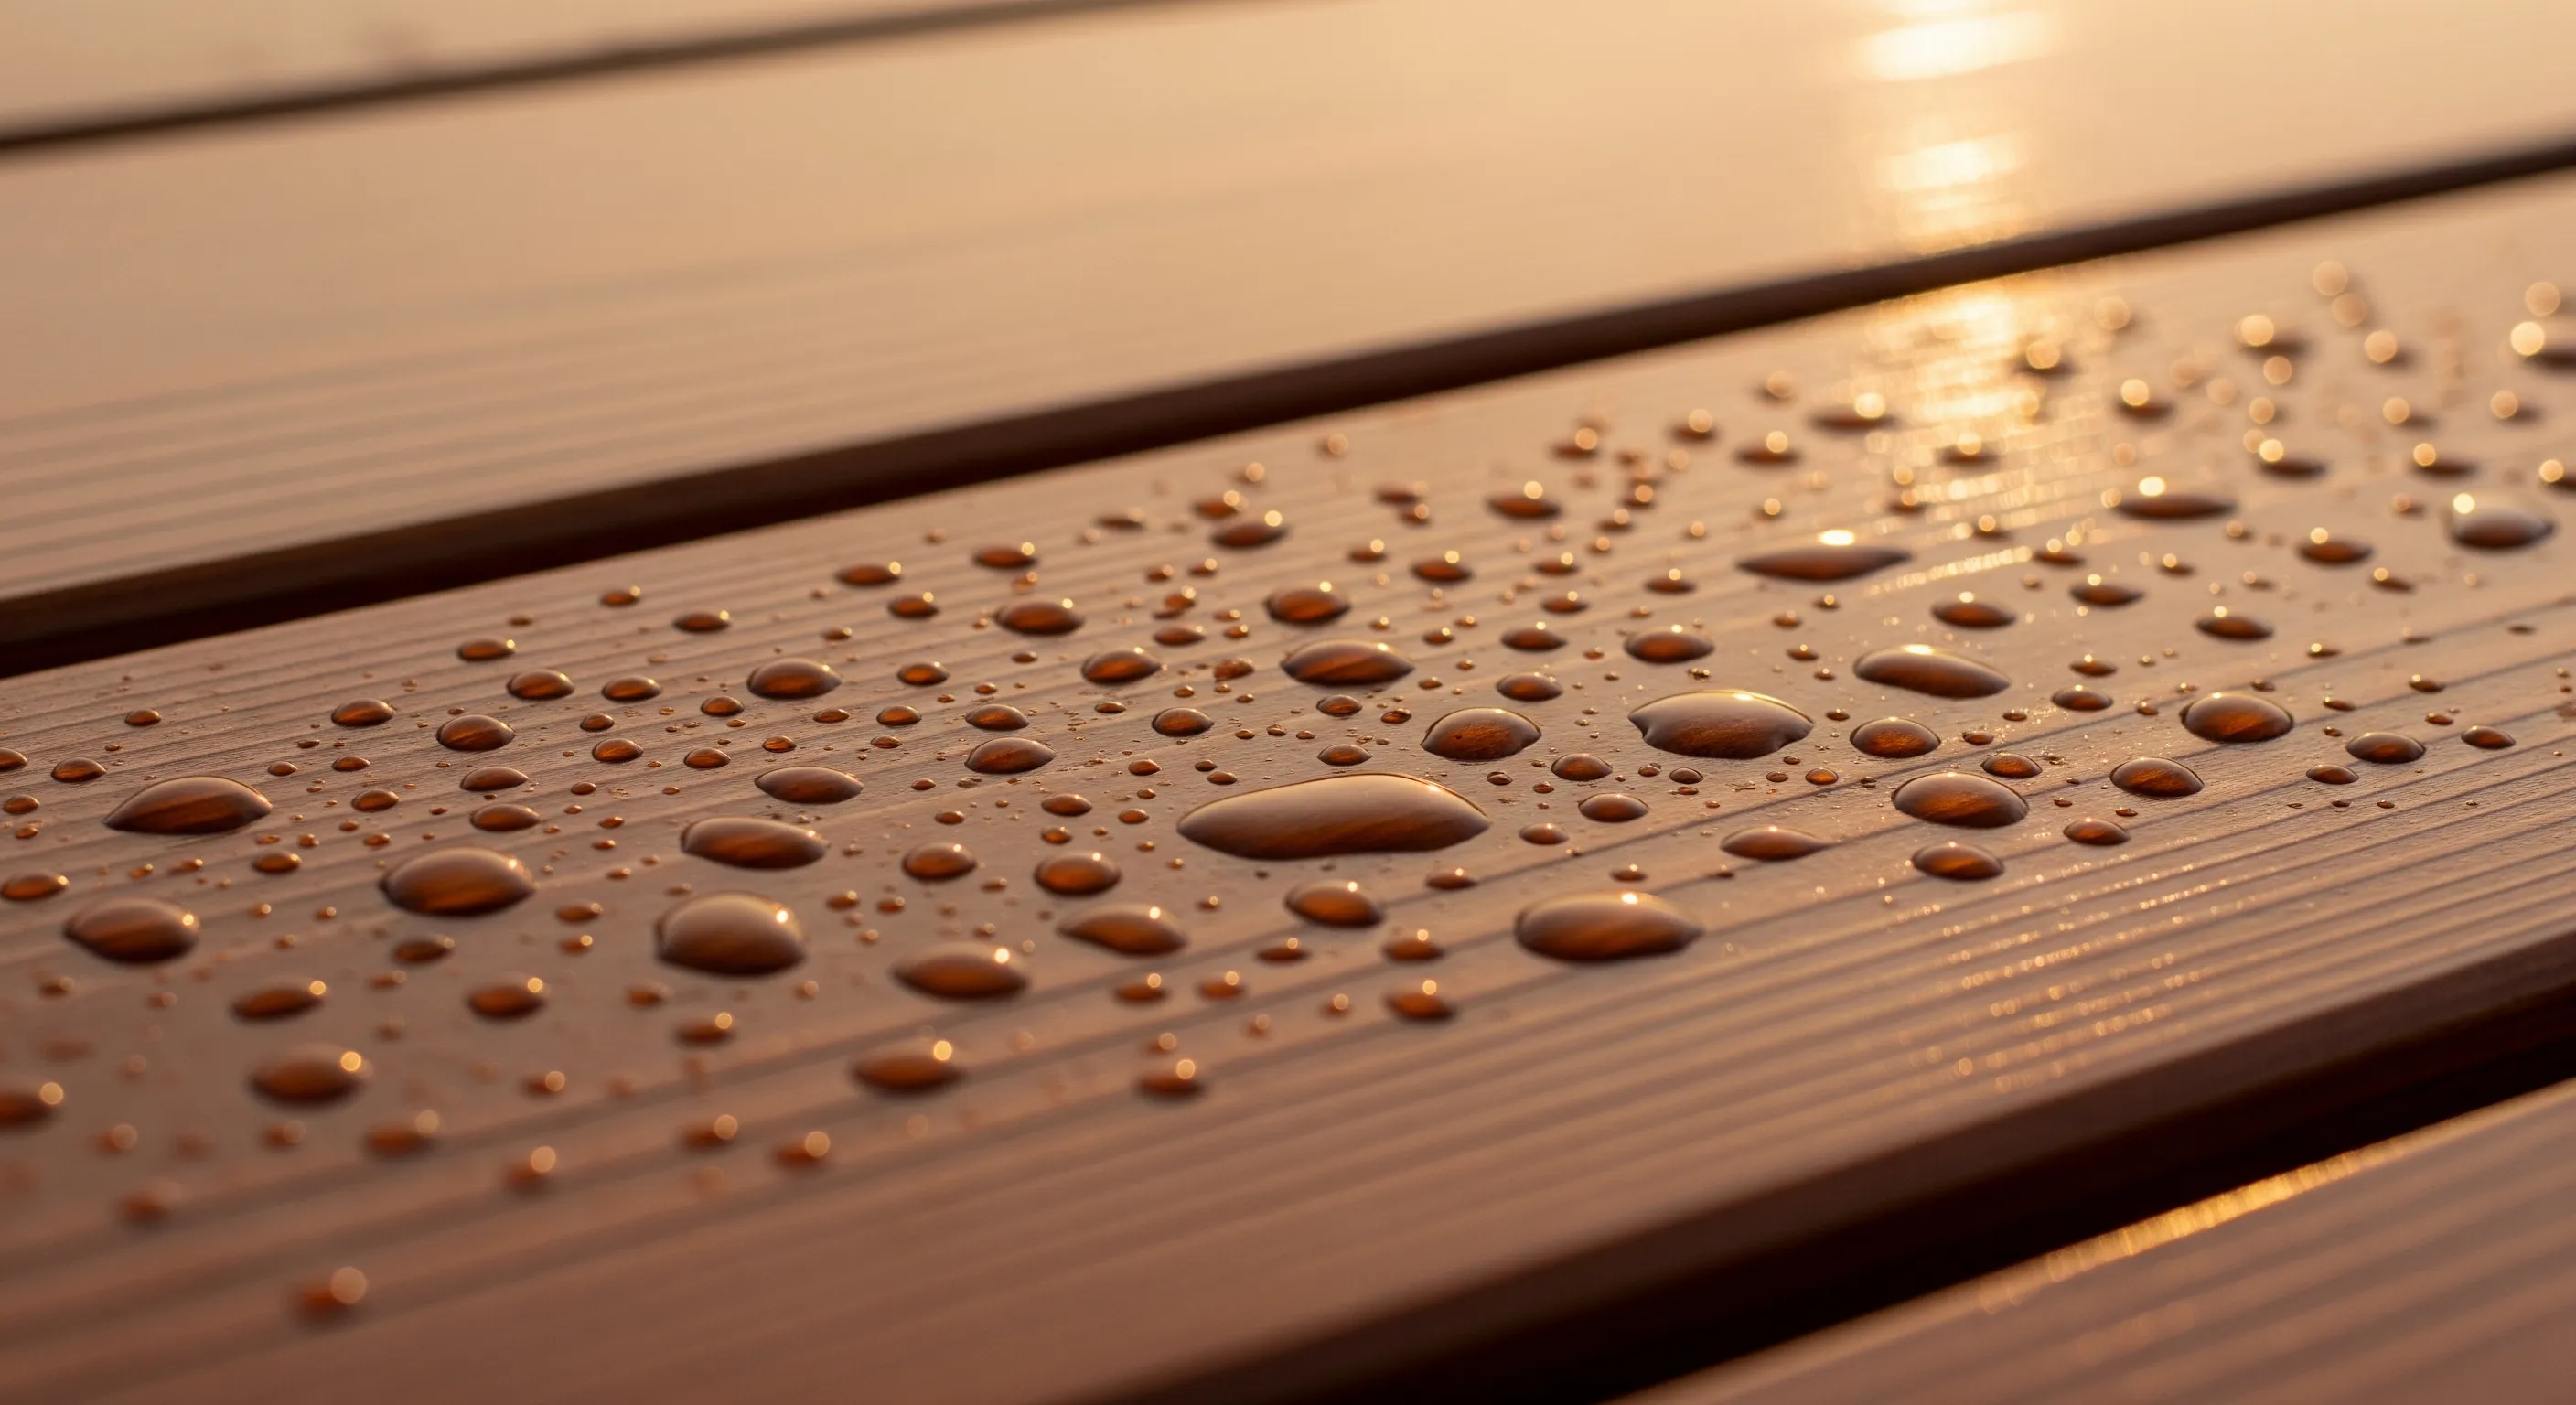
Deck oil penetrates the timber and feeds it from within. It keeps the natural look of the wood, darkens the grain, and is easy to re-apply without stripping back to bare timber. It needs re-applying more often than a stain, typically every one to two years depending on exposure.
Deck stain (pigmented) adds a UV-blocking pigment layer. Semi-transparent options show some grain; solid coverage hides it entirely but lasts longer in harsh UV or salt-air conditions. When a pigmented stain wears, it may need a light sand before re-coating; check the product instructions.
Neither is wrong. Oil looks more natural; pigmented stain tends to last longer between coats in tough conditions.
Applying the finish
- Confirm the timber is completely dry; oil on damp timber will not penetrate and may lift.
- Stir the tin thoroughly.
- Work in sections of two or three boards, keeping a wet edge, and apply along the grain with a roller, pad or brush.
- Work the finish into the surface; excess left sitting on top forms a sticky skin.
- Wipe puddles from gaps and knots before they dry.
- Follow the tin for the number of coats and the drying time between them. A second coat over a tacky first coat traps moisture and peels.
Always follow the product tin for coats, drying times and recoat windows. The manufacturer’s data accounts for conditions that a general rule cannot.
When to restore vs replace
Restore when the boards are surface-weathered and the structure is solid: no flex underfoot, sound joists and bearers, less than a third of boards past saving. A good restoration costs a fraction of a rebuild.
Replace when the structure has widespread rot or movement, more than half the boards need swapping, or the layout no longer suits how the space is used. A restoration on a compromised structure is money spent twice.
Not sure which you are facing? Our restoration service includes an honest assessment before any work is quoted.
Common mistakes to avoid
- Sanding across the grain. Orbital swirl marks and cross-grain scratches are visible under a clear finish. Always follow the grain.
- Applying finish to damp timber. The finish will not penetrate; it will sit on the surface and peel.
- Skipping grits. Jumping from coarse to fine leaves deep scratches the fine paper cannot remove without a lot of extra passes.
- Ignoring the structure. Oiling grey boards over soft joists is cosmetic work on a failing deck. Deal with the structure first.
- Applying the finish in full sun. Hot timber absorbs oil too fast, leaving a sticky, patchy surface. Work early in the morning or in shade.
- Not stirring the tin. Pigment and UV absorbers settle. A tin that is not stirred gives you an uneven, under-protected finish.
Keeping on top of it afterwards
A restored deck stays in good shape with basic maintenance: sweep regularly, clear leaves from the gaps (they hold moisture), and re-oil before the finish wears back to bare timber rather than after.
How often depends on the timber, the finish and the conditions. The detailed guide on oiling frequency covers the signs to watch for and how to judge when the deck is ready for another coat. The short version: catch it early and it is a quick clean and a coat; leave it too long and you are back to a full sanding job.
Thinking about your own deck? See our decking services or get a free quote.